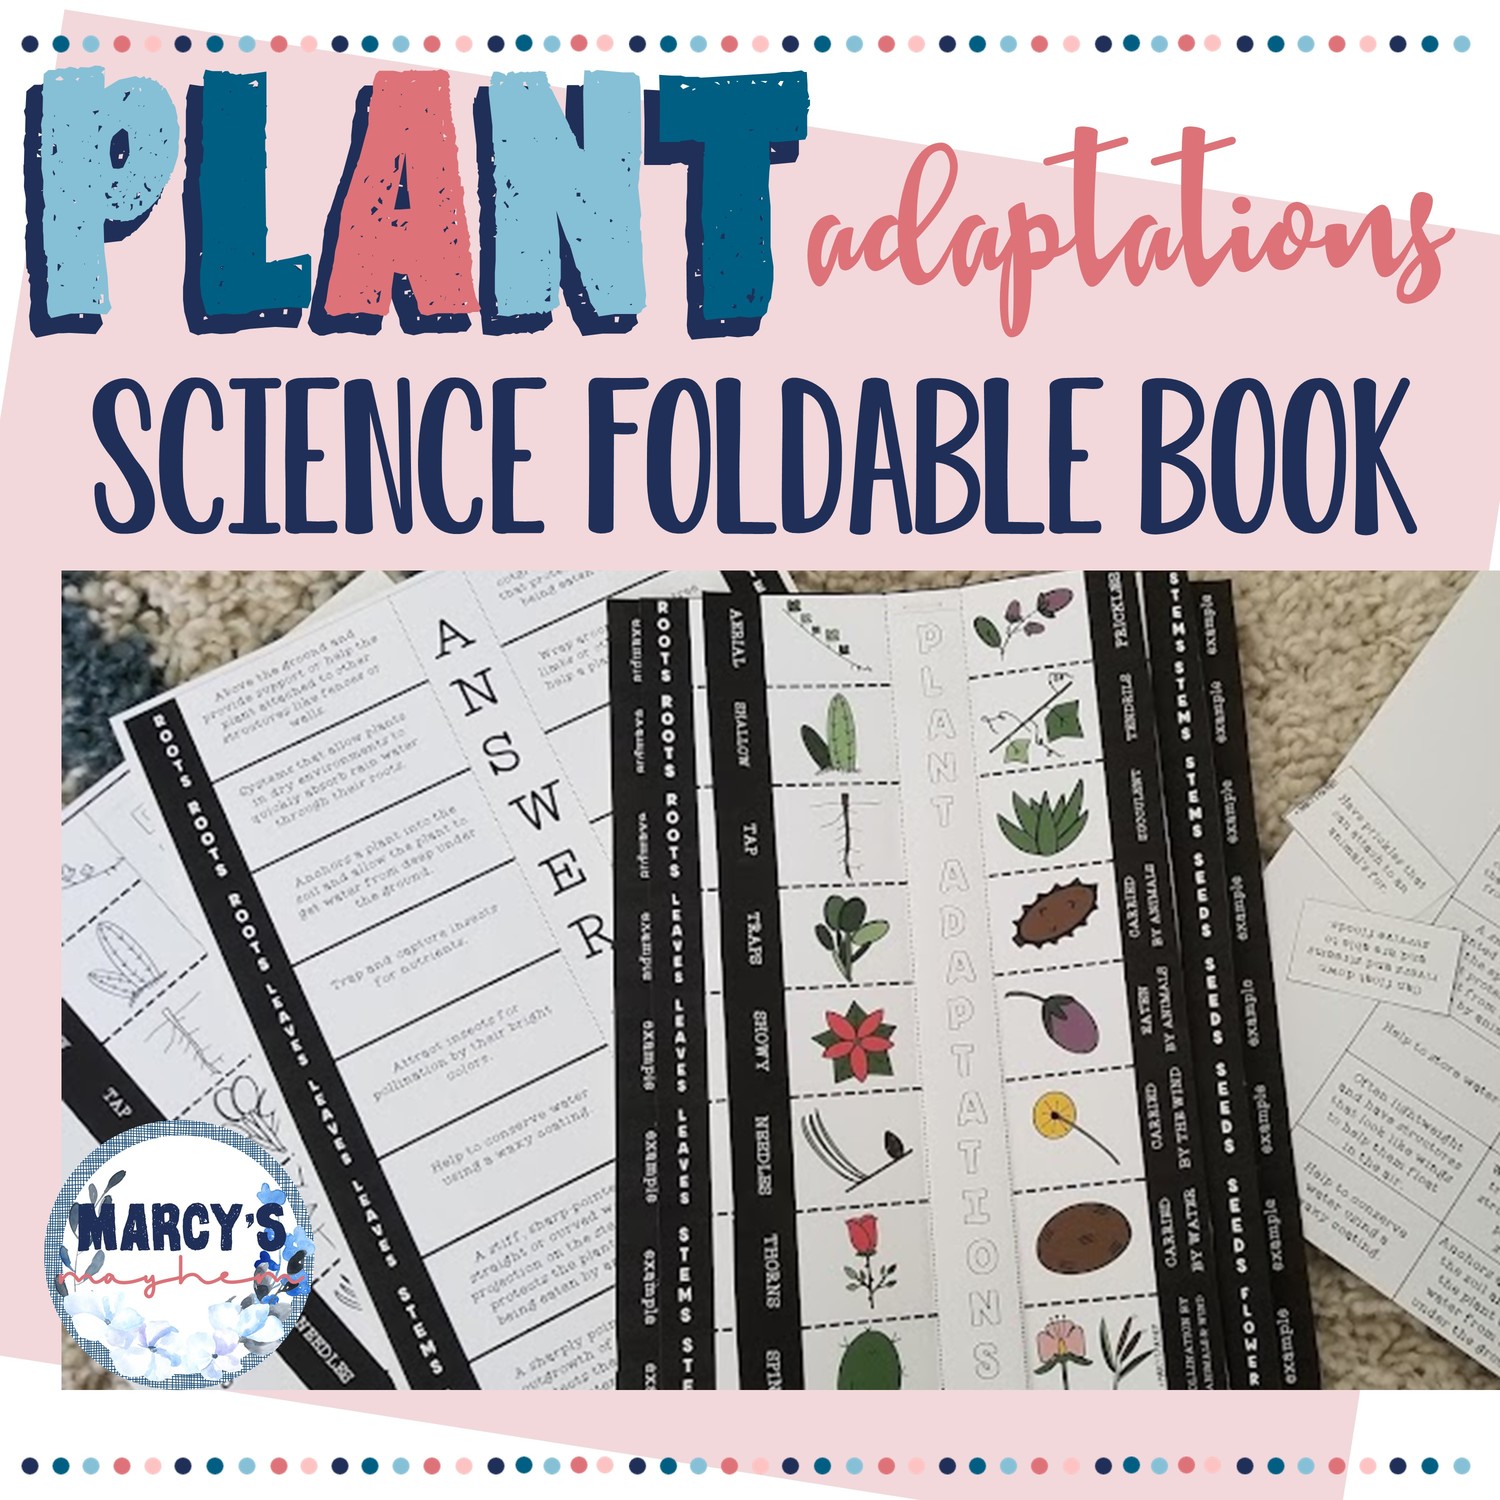
When it comes to teaching life science to kids, there are some lessons that are just hard to get students excited about. Teaching about different plant adaptations is one of those difficult lessons that I have had to get creative to keep kids engaged and focused. Over the years, I found that it is best to chunk the information in order to break up the lesson as well as to help students to retain the information. This plant adaptation activity has been created to help students not only learn about the different types of plant adaptation but also to serve as a form of note-taking. It will be easy to glue the activity inside a science notebook upon completion for students to refer back to when needed.
What is chunking the lesson?
Chunking a lesson is something that I like to use in the classroom because it helps to teach small tidbits of information at a time. Chunking the lesson can be useful because I have students come to the board (at the front of the room) while I teach and then I send them back to their seats to practice the skill. This type of teaching also helps with movement in the classroom and I have noticed it helps students stay focused.
What are the plant adaptations that kids need to know?
The main parts of the plants have all taken on different adaptations. These were the ones that I was going to teach my students about.
- ROOTS – (aerial, shallow, tap)
- LEAVES – (for traps, showy, needles)
- STEMS – (thorns, spines, prickles, tendrils, succulent leaves)
- FLOWERS – different ways of pollination (by wind & by other animals)
- SEEDS – (carried by animals, eaten by other animals, carried by the wind, carried by the water)
When it came time, to create my booklet, I had a difficult time finding all the drawings that I would need to make this booklet. This PLANT ADAPTATION CLIPART SET has been created for use on an anchor chart or any or for other teaching purposes.
I decided to teach the kids about each of the parts of the different adaptations by chunking and the students labeled. We then completed the activity at the end of the class.
How to teach PLANT ADAPTATIONS using the activity
You can start with any of the plant adaptations, but started by showing root adaptations by using an anchor chart. I created the anchor chart using the plant adaptations clipart set that has the same picture as the activity. We started by discussing the different structures, their functions, and different examples of each type of plant. After we discussed these, students were sent back to their desks to label the FUNCTIONS part of the lesson. (This was the only part of the activity that I passed out to students. Once the functions page was completely filled out, I passed out the next portion of the lesson.)
After we discussed the roots, I continued chunking the lesson by teaching the leaves, stems, seeds, and flowers. During this time students were allowed to talk with partners about which description best matched each of the functions. While students were labeling, I walked around checking for understanding and also answering questions.
Once all the plant adaptations had been discussed and students had labeled their pages, I handed out the remaining pages of the activity. I let the students cut and glue the functions down while I walked around and stapled the resource. This allowed me to also actively monitor and check for understanding.
At the end of the lesson, students had a great note-taking booklet. I was able to see get a grade to see if each of the adaptations were understood. This booklet can be used to take notes in each of the sections. Students can also do research on different varieties of plants that contain the adaptations.


